
Introduction to Crème Brûlée and Its History
Crème brûlée, an iconic dessert known for its contrast of creamy custard and crunchy caramelized sugar topping, remains a favorite among sweet connoisseurs worldwide. Rooted in rich culinary traditions, this seemingly simple dish has captivated taste buds with its sophistication and depth of flavor, proving to be much more than just a sugary indulgence. Its elegance and finesse ensure that it features prominently in gourmet restaurants and home kitchens alike.
The origins of crème brûlée are as enticing as the dessert itself. While the English, French, and Spanish all stake claim to its invention, the debate continues among culinary historians. France often gets the credit, with the earliest French references tracing back to the 1691 edition of François Massialot’s cookbook “Cuisinier Royal et Bourgeois.” However, England has its own version known as “burnt cream,” which prestigiously appeared at Trinity College, Cambridge. Meanwhile, Spain boosts its culinary pride with “crema catalana,” a similar dessert pre-dating the French variant.
Each nation brings its own flair to the custard, whether it’s an infusion of vanilla in the French version, the addition of lemon zest and cinnamon in the Spanish variant, or a simpler approach as sometimes seen in English recipes. Regardless of where it truly comes from, crème brûlée’s timeless appeal is universal. It embodies an exquisite harmony of texture and flavor, making it a beloved staple on global dessert menus.
To understand its allure is to delve into its preparation. Mastering this dessert requires precision but yields an overwhelmingly satisfying result. From the careful crafting of a delicate custard to achieving the perfect burnt topping, the process of making crème brûlée is a rewarding culinary journey. Let’s get started on our step-by-step guide to creating this delightful classic in your own kitchen.
Gathering the Necessary Ingredients and Equipment
Getting started with crème brûlée is all about having the right ingredients and equipment. This ensures that your custard is creamy and your sugar topping is perfectly caramelized. Here’s what you need to start:
Essential ingredients for crème brûlée typically include:
- Heavy cream: Provides the rich, creamy texture of the custard.
- Egg yolks: Give custard its thickness and yellow hue.
- Granulated sugar: Used both in the custard and for the caramelized topping.
- Vanilla bean or extract: Adds a delightful aroma and flavor.
For the equipment, ensure you have these essentials:
- Mixing bowls: For prepping and combining ingredients.
- Whisk: Crucial for blending yolks and sugar smoothly.
- Ramekins: Individual small dishes that hold the custard.
- Baking dish or shallow pan: Used to hold ramekins for water bath baking.
- Kitchen torch: For that quintessential caramelized sugar top, though an oven broiler may suffice in a pinch.
A Handy Equipment Checklist
| Equipment | Purpose | Alternative |
|---|---|---|
| Mixing Bowls | For combining ingredients | Any large bowl |
| Whisk | To blend the custard | Electric mixer |
| Ramekins | Holds individual custard portions | Shallow cups |
| Baking Dish | Water bath for even cooking | Deep baking tray |
| Kitchen Torch | Caramelizes sugar to form a crust | Oven broiler |
Make sure to gather your ingredients and check your equipment before starting, as preparation is key to a smooth cooking process.
Preparing the Custard Base for Crème Brûlée
The heart and soul of crème brûlée lies in its creamy custard base. Preparing the custard is all about achieving the perfect balance and blend of flavors, primarily ensuring that the vanilla and creamy texture meld seamlessly.
Begin by pouring heavy cream into a saucepan, adding a split vanilla bean or vanilla extract. Heat the mixture gently until it reaches a simmer, making sure not to let it boil. This step allows the vanilla to infuse fully into the cream, imparting its delicate fragrance and flavor.
While the cream is heating, in a separate bowl, whisk the egg yolks with granulated sugar until they are pale and slightly thickened. The sugar should be fully dissolved, ensuring no granules remain to avoid grainy custard. Slowly stir approximately a quarter of the heated cream into the yolk mixture to temper it. This process gradually raises the temperature of the yolks, preventing them from curdling.
Once tempered, pour the egg and cream mixture back into the remaining hot cream, stirring constantly until the components are thoroughly combined. Strain the mixture through a fine-mesh sieve into a clean bowl to remove any bits of cooked egg or excess vanilla bean fragments. This ensures the custard remains smooth and lump-free.
The Art of Baking Custard to Perfection
The next step in creating a flawless crème brûlée is baking the custard. Achieving the right consistency during this stage is crucial, as overbaking can lead to a curdled texture, while underbaking leaves it too runny.
Preheat your oven to 325°F (160°C). Arrange the prepared ramekins in a baking dish or pan, spaced evenly. Carefully pour the strained custard into each ramekin, filling them to just below the rim. The next step is to create a water bath, or bain-marie, which involves pouring hot water into the baking dish around the ramekins to the halfway point on their sides. This method ensures even cooking by providing gentle heat.
Place the baking pan in the oven and bake the custard for around 30-40 minutes. You’re looking for a slight jiggle in the center when the ramekins are gently shaken. Keep a close watch as baking times can vary depending on oven consistency and ramekin size.
Once out of the oven, remove the ramekins from the water bath and allow them to cool to room temperature on a wire rack. This helper step aids in even cooling before the custard is placed in the refrigerator to set.
Chilling the Custard Properly for Best Results
After baking, the next crucial step is chilling the custard. This not only helps the custard set properly but also enhances its flavor profile.
Transfer the cooled ramekins to the refrigerator, covering them with plastic wrap or a tight cling film to avoid absorbing any refrigerator odors. Let the custard chill for at least 2-4 hours, or if possible, overnight. This extended chilling period allows the flavors to meld and the custard to reach the desired firm texture.
Proper chilling also prepares the custard for the final step—caramelizing the sugar topping. A well-chilled custard is less likely to break down when exposed to the direct heat used to burn the sugar. Remember, serving crème brûlée with a stark contrast between the cold custard and hot topping is the key to its delightful experience.
Creating the Caramelized Sugar Topping
Topping crème brûlée with caramelized sugar is both an art and a science, crucial for providing the signature ‘crack’ with each spoonful.
Begin by sprinkling an even layer of sugar over the chilled custard. The amount should be enough to cover the surface without clumping, typically about a teaspoon per ramekin. For the best results, use fine granulated sugar, as it melts more evenly compared to larger crystals.
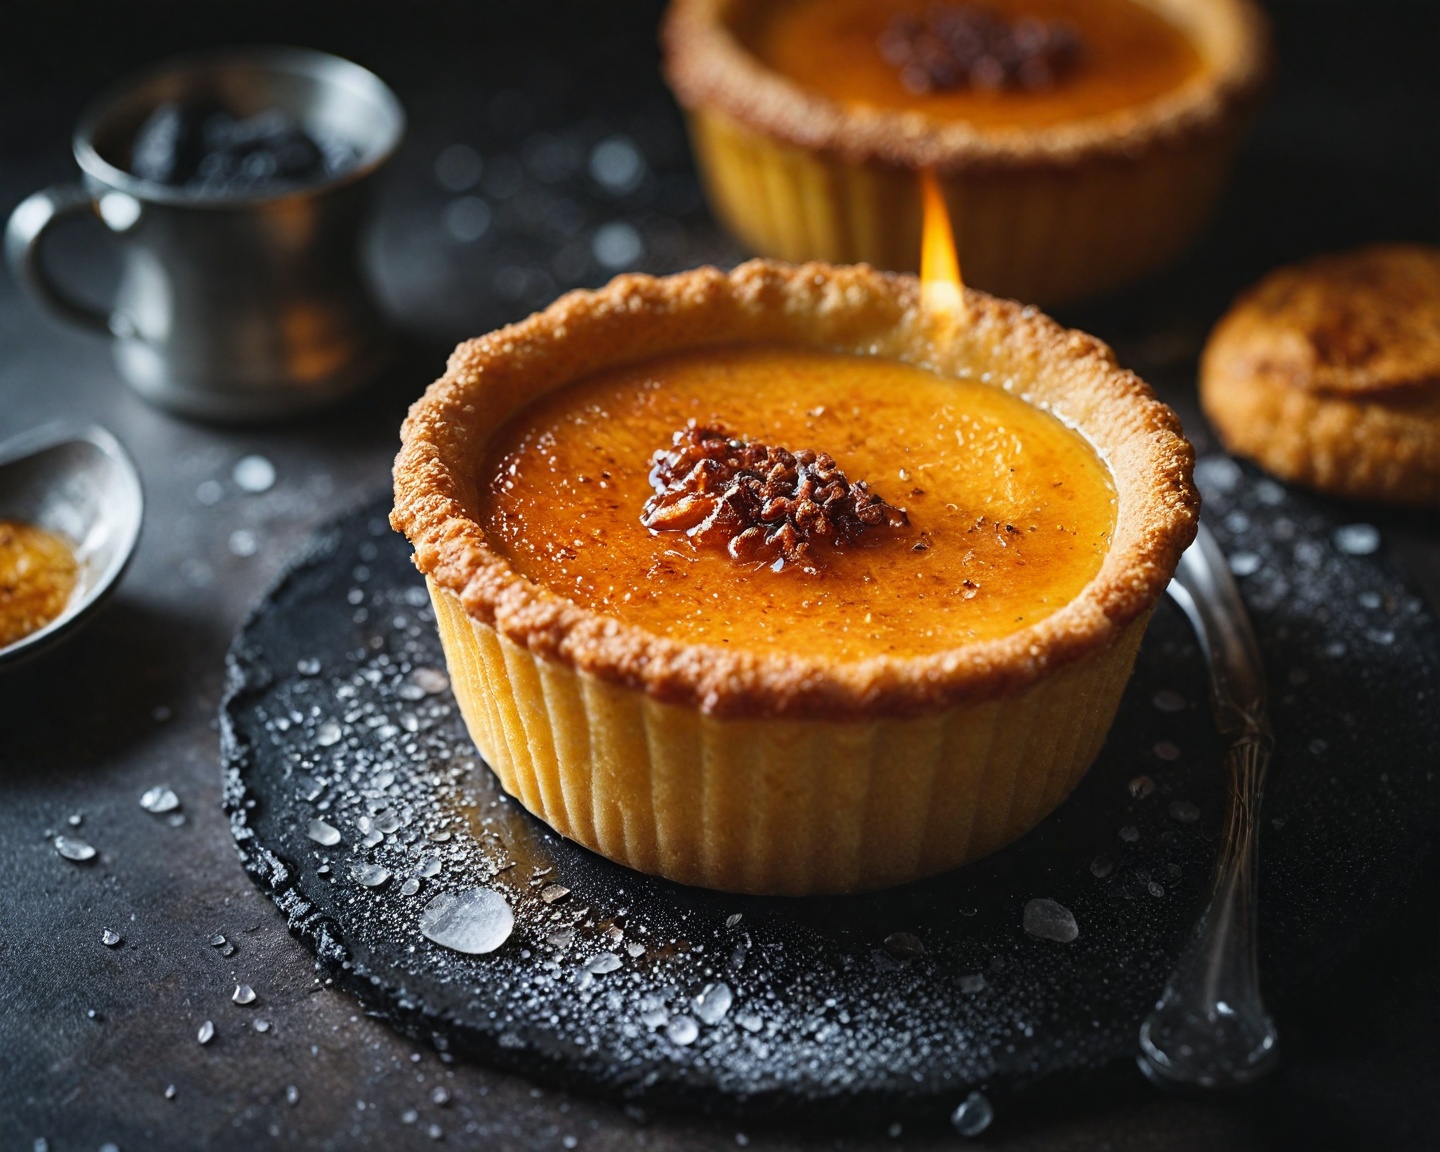
Using a kitchen torch, move the flame steadily over the sugar, holding it just close enough to melt and caramelize the sugar but not burn it. The goal is a deep amber color with an unmistakable crackle without burning. If you don’t have a torch, you can use your oven’s broiler on high. Place the ramekins under it until the sugar bubbles and darkens.
Once caramelized, let the ramekins sit for a minute to allow the sugar to harden into a crisp shell. This thin caramel crust provides the perfect textural contrast to the soft custard underneath.
Common Mistakes and How to Avoid Them
Making crème brûlée might seem straightforward, but a few common pitfalls can alter its perfection. Being aware of these can ensure a successful baking experience.
- Curdled Custard: This occurs when the custard is overbaked. Avoid this by maintaining a steady, gentle oven temperature (around 325°F) and checking for the distinctive jiggle in the custard center.
- Grainy Texture: Undissolved sugar can lead to this. Always whisk sugar into egg yolks until fully dissolved for a smooth custard.
- Burnt Sugar Topping: Implies too much heat too quickly. Whether using a torch or broiler, evenly distribute heat by moving constantly to avoid scorching.
- Runny Custard: Often results from underbaking. Ensure a slow, controlled baking time and allow custard significant refrigerator chilling time.
- Vanilla Overpower: Comes from too much extract or leaving beans in too long. Use vanilla sparingly and balance with other flavors.
Understanding these mistakes and their corrections ensures that your crème brûlée is restaurant-quality at home.
Serving Suggestions and Pairing Options
Crème brûlée is versatile in presentation and pairs wonderfully with complementary flavors and beverages.
Serving Ideas:
- Classic Alone: Serve in its ramekin for a simple, classic presentation.
- Garnished: Add fresh berries or a mint leaf for a touch of color.
- Infused Flavors: Experiment with lavender, rose, or citrus zest within the custard.
Pairing Suggestions:
- Wines: Sweet wines like Sauternes or Moscato d’Asti complement the dessert’s richness.
- Coffee: A rich, dark espresso can balance the sweetness of the custard.
- Liqueurs: Amaretto or Frangelico offers a nutty finish that pairs well with vanilla.
The timeless nature of crème brûlée ensures it remains a show-stopping dessert for any occasion, whether served alone or with a refined drink.
Troubleshooting Common Issues with Crème Brûlée
Despite the best efforts, sometimes things can go awry with crème brûlée. Here are solutions to common issues:
- Underdone Center: Increase baking time by a few minutes and test the center’s jiggle.
- Sugar won’t Melt: Sometimes caused by oven broilers. Use fine sugar and try a more uniform distribution or adjust torch/broiler distance.
- Cracked Surface: Occurs if custard is too cold or sugar is cooled too rapidly. Let ramekins rest at room temperature momentarily before serving.
- Clumping Custard: Ensures mixing and tempering techniques are followed to avoid sudden temperature changes.
- Bitter Topping: Comes from over-burning sugar. Use just enough heat for the right color, avoiding blackening.
Understanding these nuances elevates your crème brûlée game, allowing troubleshooting without sacrifice of quality.
Frequently Asked Questions About Crème Brûlée
Can I make crème brûlée without a kitchen torch?
Yes, by using the oven’s broiler. Place the ramekins under a heated broiler until the sugar melts and caramelizes, watching closely to avoid burning.
How can I store leftover crème brûlée?
Store covered in the refrigerator for up to three days. The sugar topping might soften, so to retain the crunch, add fresh sugar and re-caramelize before serving again.
Is crème brûlée gluten-free?
Yes, typical crème brûlée recipes do not contain gluten, assuming no cross-contamination occurs during preparation.
Can I prepare crème brûlée ahead of time?
Absolutely. Prepare and chill the custard in advance, then caramelize the sugar just before serving.
What gives crème brûlée a distinctive flavor?
Vanilla is the key element, although varying flavor profiles can be introduced with spices, citrus, or flavored extracts.
Recap
Creating crème brûlée at home is both rewarding and indulgent. Start by understanding its rich history and carefully gathering necessary ingredients and tools. Craft a smooth custard base, bake to perfection using a water bath, and chill thoroughly to set. Achieve the perfect caramelized sugar top, aware of common mistakes and how to sidestep them. Enjoy serving suggestions and pairings to elevate this delectable dessert. Finally, with tips and FAQ, tackle troubleshooting and spark confidence in crafting crème brûlée.
References
- Massialot, F. “Cuisinier Royal et Bourgeois.” France, 1691.
- Cambridge University. “History of Burnt Cream.” Trinity College Manuscripts.
- Culinary Institute of America. “Fundamentals of Culinary Techniques,” 2020.