
Introduction: The Charm of Homemade Sweet Pies
There’s something undeniably alluring about a sweet pie fresh from the oven. The inviting aroma fills your home, adding warmth and comfort to any occasion. Whether it’s a family get-together, a festive celebration, or simply a Sunday afternoon treat, homemade sweet pies can play a starring role in the experience. Their versatility, marrying well with a variety of ingredients and flavors, makes them a beloved tradition across cultures.
Homemade sweet pies also have a nostalgic charm. They remind us of simpler times when crafting a delicious dessert meant more than just baking—it meant creating a sensory experience. The crackling crust, the syrupy sweet filling, and the vibrant colors all coming together in a masterpiece of culinary art bring about a profound sense of satisfaction and joy to both the baker and the lucky ones who get to taste it.
Moreover, making a sweet pie at home allows you to customize flavors to suit your whim or dietary needs. Whether you’re tempted by the idea of a classic apple pie or excited to adventure into a decadent chocolate ganache-filled pie, the art of pie-making is all about creativity. You can choose to experiment with spices, sweeteners, and seasonal fruits, thereby always keeping your endeavors exciting.
Ultimately, sweet pies are more than just dessert—they’re a testament to home-cooking and a celebration of tradition, creativity, and indulgence. The process of pie-making is an elixir for the soul, an activity that invites us to slow down and appreciate the little joys of life. So, let’s explore how you can master the art of making sweet pie right in your kitchen.
Essential Ingredients for a Sweet Pie
The first step in making a sweet pie is gathering your ingredients. Essential to perfecting this classic dessert is knowing which ingredients are fundamental to its structure and flavor. While you can always add a personal flare, there are certain staples without which a sweet pie wouldn’t be the same.
| Ingredient | Purpose |
|---|---|
| All-Purpose Flour | Forms the base of the crust |
| Butter | Ensures flakiness and flavor |
| Sugar | Sweetens the crust and filling |
| Water or Milk | Binds the dough together |
| Eggs | Enriches the texture of both crust and filling |
| Salt | Enhances the flavor profile |
Flour forms the backbone of your pie crust. Typically, all-purpose flour works best but feel free to experiment with alternatives to suit dietary preferences, like almond or gluten-free flour. Butter is key for achieving that flaky, melt-in-your-mouth texture—opt for unsalted to have control over the salt content.
Sugar is another staple. Used in both the crust and filling, it enhances the overall sweetness while balancing other flavors. Whether you’re using granulated sugar, brown sugar, or alternatives like honey or maple syrup, each adds a unique twist. Eggs might come into play depending on your crust choice, adding richness to the dough and the filling alike.
Lastly, water binds the dough ingredients, making it pliable and easy to roll out. Some may prefer using milk or even a dairy substitute to add subtle flavor. Salt is a minor yet crucial addition that brings out the pie’s other flavors, making every bite more satisfying.
Step-by-Step Guide to Preparing the Pie Crust
Creating the perfect pie crust is as much an art as it is a science. A well-made crust serves as a solid foundation, holding up the filling while contributing a delightful crunch. Follow these steps to achieve pie crust perfection:
-
Measure Ingredients Precisely: Begin by measuring your dry ingredients. You’ll need about 1 and 1/2 cups of flour, a tablespoon of sugar, and a pinch of salt. Proper measurements mean consistency in texture and flavor.
-
Add Fat for Flakiness: Using cold butter is vital for pie crusts. Cut 1/2 cup of butter into cubes and incorporate it into your dry mixture. A pastry cutter or your hands can help break down the fat until the mixture resembles coarse crumbs.
-
Bind with Liquid: Gradually incorporate cold water, one tablespoon at a time. Stir until the dough begins to hold together, being mindful not to add too much liquid, which can make the crust tough.
-
Chill the Dough: Form the dough into a disc, wrap in plastic, and refrigerate for at least an hour. Chilling the dough allows the flour to absorb the liquid better and the fat to solidify, which helps in maintaining structure during rolling and baking.
-
Roll Out and Fit the Dough: After chilling, roll out the dough on a floured surface to about an eighth of an inch thick. Carefully transfer it to your pie dish and trim any excess.
Developing the skill to make a consistent crust takes practice. But remember, even the best pie makers have days when their crust doesn’t cooperate. The key is patience and persistence.
Delicious Sweet Pie Fillings Ideas
A great pie crust deserves an equally fantastic filling. While the classics are always a hit, don’t shy away from trying something new. Here are some mouth-watering sweet pie filling ideas to inspire your journey:
-
Classic Apple Pie: Combine sliced apples with cinnamon, nutmeg, and sugar for a comforting and timeless filling.
-
Decadent Chocolate Ganache: Use a combination of dark chocolate and cream to create a silky, indulgent filling that pairs well with a dollop of whipped cream.
-
Berry Medley: Mix a variety of berries with sugar and a hint of lemon zest for a tart yet sweet filling that bursts with flavor.
-
Pumpkin Spice: A must for the fall season, pureed pumpkin mixed with spices like cinnamon and cloves creates an aromatic delight.
-
Creamy Coconut Custard: Blend coconut milk, sugar, and eggs for a tropical pie that’s both creamy and refreshing.
Choosing the right filling depends on the occasion and personal preference. Each option offers a unique twist on tradition, ensuring that your pie is as delightful to behold as it is to taste.
Assembling Your Sweet Pie: Tips for an Even Bake
Once your filling and crust are ready, the next step is to assemble your pie. Proper assembly not only influences taste but also contributes to the pie’s appearance and textural harmony.
First, ensure your filling is not too watery, as excess liquid can seep into the crust, causing it to become soggy. For particularly juicy fillings, incorporate thickening agents such as cornstarch or flour to better maintain consistency.
To ensure a well-baked crust, consider blind baking (pre-baking the crust without filling) if your chosen pie requires substantial baking time for its filling. This technique prevents an undercooked crust by giving it a head-start.
As you fill your pie, be mindful of even distribution—especially if you’re working with composite fillings like berries or chocolate. This will help to achieve an even bake and ensure each slice provides a balanced taste.
After filling, don’t forget to vent the pie, particularly if your design involves a full crust top. Small cuts are necessary to allow steam to escape, preventing the filling from bubbling over and altering the pie’s shape.
Finally, consider brushing egg wash over your crust before baking. This simple step can result in a glossy, golden-brown finish that makes your pie even more visually inviting.
Baking Time and Temperature: Avoiding Common Mistakes
Successful pie baking requires precision with time and temperature—errors here can lead to disappointing results. Here are some vital points to consider for the perfect bake:
-
Preheat Your Oven: Always start with a preheated oven—this sets the stage for an even bake from the get-go. Most sweet pies bake well at 350°F to 375°F, though always check your specific recipe for guidance.
-
Use a Baking Sheet: Placing your pie on a baking sheet can help distribute heat more evenly and catch overflow that may otherwise burn and create smoke.
-
Monitor Baking Time: While a typical pie may take anywhere from 45 minutes to an hour, it’s crucial not just to rely on time. Look for visual cues—such as a uniformly golden crust and bubbling filling—for when your pie is done.
-
Rotate for Evenness: Halfway through the baking process, rotate the pie. Ovens can have hot and cold spots, and rotating helps ensure even baking.
-
Cooling is Crucial: Allow your pie to cool almost completely to achieve the right texture. Filling will thicken as it cools, making it easier to slice and serve.
Avoid these pitfalls, and you’ll find yourself serving up a sweet pie that’s as lovely as it is delicious.
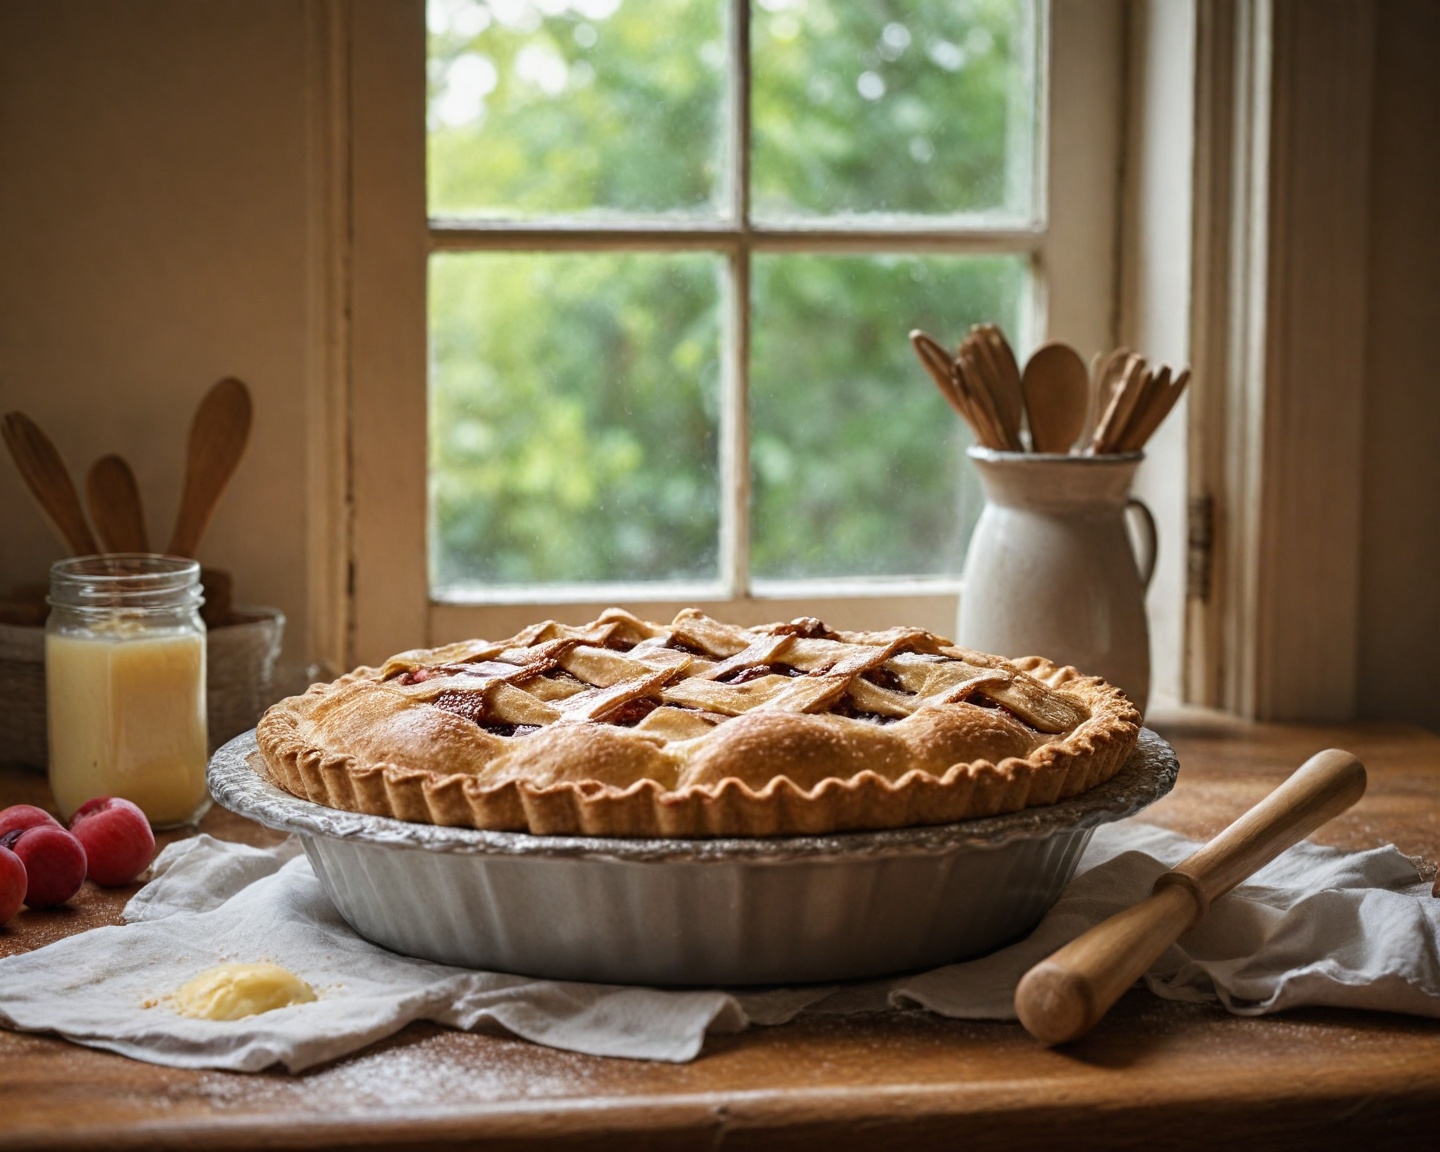
Decorating and Serving Suggestions for Sweet Pies
Decorating your pie adds a personalized touch that feels both rewarding and exciting. Consider these simple ideas to elevate your pie’s aesthetic appeal:
-
Lattice Crust: Weaving strips of dough can create an attractive lattice pattern, especially nice for fruit pies.
-
Cut-Out Shapes: Use cookie cutters to create decorative pieces from extra dough, then place them on the edges or top.
-
Sugary Sprinkles: A light sprinkling of sugar or cinnamon sugar can add sparkle and hint at the flavors within.
When it comes to serving, presentation is just as important as decoration. Pair your pie slices with:
-
Ice Cream: Vanilla ice cream makes an excellent complement to warm pies like apple or berry.
-
Whipped Cream: A dollop of freshly whipped cream adds richness without overpowering the flavors.
-
Caramel or Chocolate Sauce: Drizzle over the top for added decadence, especially with pies like chocolate ganache or pumpkin.
Presentation and taste together create an unforgettable experience ready to delight family and guests alike.
Storing and Preserving Your Pie for Freshness
An oft-overlooked aspect of pie-making is storage. Proper storage methods ensure your pies remain fresh and delicious for as long as possible.
-
Refrigeration: If your pie contains dairy or egg-based fillings, refrigerate it within two hours of baking. Cover with plastic wrap or aluminum foil loosely, allowing moisture to escape and maintain crust texture.
-
Room Temperature: Fruit pies can usually remain at room temperature for a couple of days, lightly covered, for easy snacking.
-
Freezing: To store pies for a longer duration, freezing is an excellent option. Wrap pies securely with plastic and aluminum foil to prevent freezer burn. Remember to label them with the date to ensure freshness.
By making use of these storage methods, you can preserve the taste and texture of your pie, extending the pleasure of homemade goodness.
FAQs: Troubleshooting Common Pie-Making Issues
What do I do if my pie crust is too tough?
A tough pie crust is often the result of overworking the dough or adding too much liquid. Next time, mix the dough until just combined and use the minimum amount of water necessary.
How can I fix a runny pie filling?
If your pie’s filling is runny, incorporate thickeners like cornstarch or flour next time. For more immediate solutions, draining some liquid off before serving may help, though texture won’t wholly improve.
Why does my pie crust shrink when baked?
Shrinking occurs due to the over-stretching of dough while fitting it into the pie pan. Allow the dough to rest a little longer after rolling, and press it gently without stretching.
Is it normal for my pie to bubble over?
If your pie bubbles over, it might be due to overfilling or insufficient venting. Ensure there’s enough room to contain the filling and consider making deeper or additional vents.
How do I prevent a soggy bottom crust?
Pre-baking or blind baking the crust helps avoid sogginess, as does ensuring the filling is not overly moist and baking the pie on a lower oven rack.
What’s the best way to roll out pie dough?
Chill the dough for at least an hour and use a floured surface to prevent sticking. Roll from the center outward, turning the dough occasionally to maintain an even thickness.
Can I make pie dough in advance?
Absolutely! Pie dough can be made ahead and stored in the refrigerator for up to three days. It can also be frozen for longer storage—up to three months.
Conclusion: Enjoying Your Homemade Sweet Pie Masterpiece
Crafting a sweet pie at home is an endeavor well-worth your time and creativity. It brings joy not only during the baking process but continues as the delightful aroma fills your home and you share your creation with loved ones. From understanding the critical role of each ingredient, perfecting your crust, choosing delectable fillings, and assembling your pie with care, each step is part of a fulfilling ritual.
Adhering to proper baking techniques ensures your pie bakes evenly while adding decorative touches elevates the presentation. With varied serving suggestions and effective storage methods, your homemade sweet pie remains a source of joy beyond the first slice.
So go ahead, indulge your senses and revel in the art of pie-making—just remember, practice and experimentation are your allies in creating the perfect sweet pie masterpiece.
Recap
- Ingredients: Flour, butter, sugar, eggs, and a pinch of salt are essential for the perfect sweet pie.
- Crust Preparation: Mix ingredients carefully and chill dough for best results.
- Fillings: Classic or creative, options abound for sweet pie flavors.
- Baking Tips: Preheat, bake on a sheet, and rotate for consistency.
- Decorating and Serving: Options include lattice crust, ice cream, and sauces.
- Storage: Refrigerate or freeze to maintain freshness.
References
- “The Complete Book of Pies: 200 Recipes”, published 2012.
- “Pieology: Pies, Sweet and Savory”, published 2018.
- “Pie School: Lessons in Fruit, Flour & Butter”, published 2014.