
Homemade ice cream cake is like the ultimate dessert dream come true. Imagine enjoying the creamy, sweet flavor of ice cream combined with the texture and taste of cake. It’s no wonder ice cream cakes have soared in popularity for celebrations of all kinds. Whether it’s a birthday, an anniversary, or just a treat to cool down on a hot day, these cakes make every event a little more special. And the best part? You can customize them entirely to your liking, from the flavors mixed into it to the toppings sprinkled on top.
Making an ice cream cake at home might seem daunting at first. However, with the right guidance, it’s achievable for even novice bakers. Why settle for store-bought when you can enjoy crafting your own masterpiece at home? Not only is it a fun project, but it also lets you experiment with different combinations, discovering new favorites along the way. Plus, it’s a great way to impress family and friends with your culinary prowess.
The process of making a homemade ice cream cake involves thoughtful preparation, creative layering, and a touch of patience. From selecting the finest ingredients to assembling the layers properly, each step adds to the final presentation. The result is a unique creation that not only satisfies your sweet tooth but also provides a sense of accomplishment.
In this guide, we’ll walk you through every step of crafting the ultimate homemade ice cream cake. Whether you’re looking for tips on choosing the perfect flavors or advice on decoration, we’ve got you covered. By the end of this guide, you’ll be ready to take on this delightful challenge and create a cake that’s both delicious and photo-worthy.
Essential Ingredients Needed for a Homemade Ice Cream Cake
The successful creation of a homemade ice cream cake begins with selecting the right ingredients. The freshness and quality of your ingredients can make all the difference in the flavor and texture of your cake.
First and foremost, you will need a high-quality ice cream. Choose flavors that you and your guests will enjoy. Vanilla and chocolate are classics, but don’t be afraid to mix it up with options like mint chocolate chip, strawberry, cookies and cream, or even some exotic flavors like mango or pistachio. Remember, the better the ice cream, the richer your cake will taste.
In addition to ice cream, you’ll need a cake base. This can be a standard sponge cake, brownies, or even cookie crumbs, depending on your preference. You will also require a binding agent, such as whipped cream or a spread like Nutella, to help stick the layers together. Equally important are the toppings and fillings, which can range from hot fudge and caramel to fruit sauces and crushed nuts.
Lastly, to keep everything in place, invest in a good springform pan. This makes it easier to layer and un-mold your cake once it’s frozen. You will also need some parchment paper, which aids in the clean removal of the cake from the pan.
Step-by-Step Guide to Preparing Your Cake Base
The first step in making your ice cream cake is to prepare a solid cake base. This foundation will support the ice cream layers and add to the cake’s overall flavor and texture.
-
Choosing the Cake Type: Decide whether you want your cake base to be soft and spongy or dense and chewy. Options include using a vanilla sponge cake or a rich chocolate brownie. Each provides a different flavor profile and texture.
-
Baking the Base: Once you’ve selected your cake type, bake it according to the recipe instructions. Ensure it cools completely to prevent melting the ice cream.
-
Layer the Pan: After the cake cools, place it at the bottom of your springform pan. Use a layer of parchment paper for easy removal. If you’re using cookie crumbs, mix them with melted butter, press them into the pan, and bake briefly to set.
Here’s a handy table for cake base options and qualities:
| Base Type | Texture |
|---|---|
| Sponge Cake | Light & Fluffy |
| Brownie | Dense & Chewy |
| Cookie Crumbs | Crunchy & Firm |
How to Choose and Layer Your Ice Cream Flavors
One of the best aspects of making an ice cream cake is the opportunity to get creative with ice cream flavors. Whether sticking with classics or trying something new, the choices are endless.
-
Select Complementary Flavors: For a more harmonious taste, consider combining flavors that naturally go well together. Vanilla pairs well with any flavor, while chocolate goes beautifully with mint or berry flavors.
-
Alternating Layers: Once you’ve chosen your flavors, allow the ice cream to soften slightly for easier spreading. Start with one layer of flavor, spreading it evenly over your cake base. Freeze each layer for about 15 minutes before adding the next to ensure clean separation.
-
Textures and Mix-ins: Add texture by incorporating mix-ins such as chocolate chips, crushed cookies, or swirls of peanut butter. These can be mixed into the softened ice cream before adding it to the cake.
Tips for Adding Delicious Fillings and Toppings
Enhancing your ice cream cake with delicious fillings and toppings can transform a simple dessert into a gourmet experience.
-
Creative Fillings: Consider layering fruit preserves, caramel sauce, or fudge between your ice cream layers. You can even bake some crushed cookies or nuts into the middle for extra crunch.
-
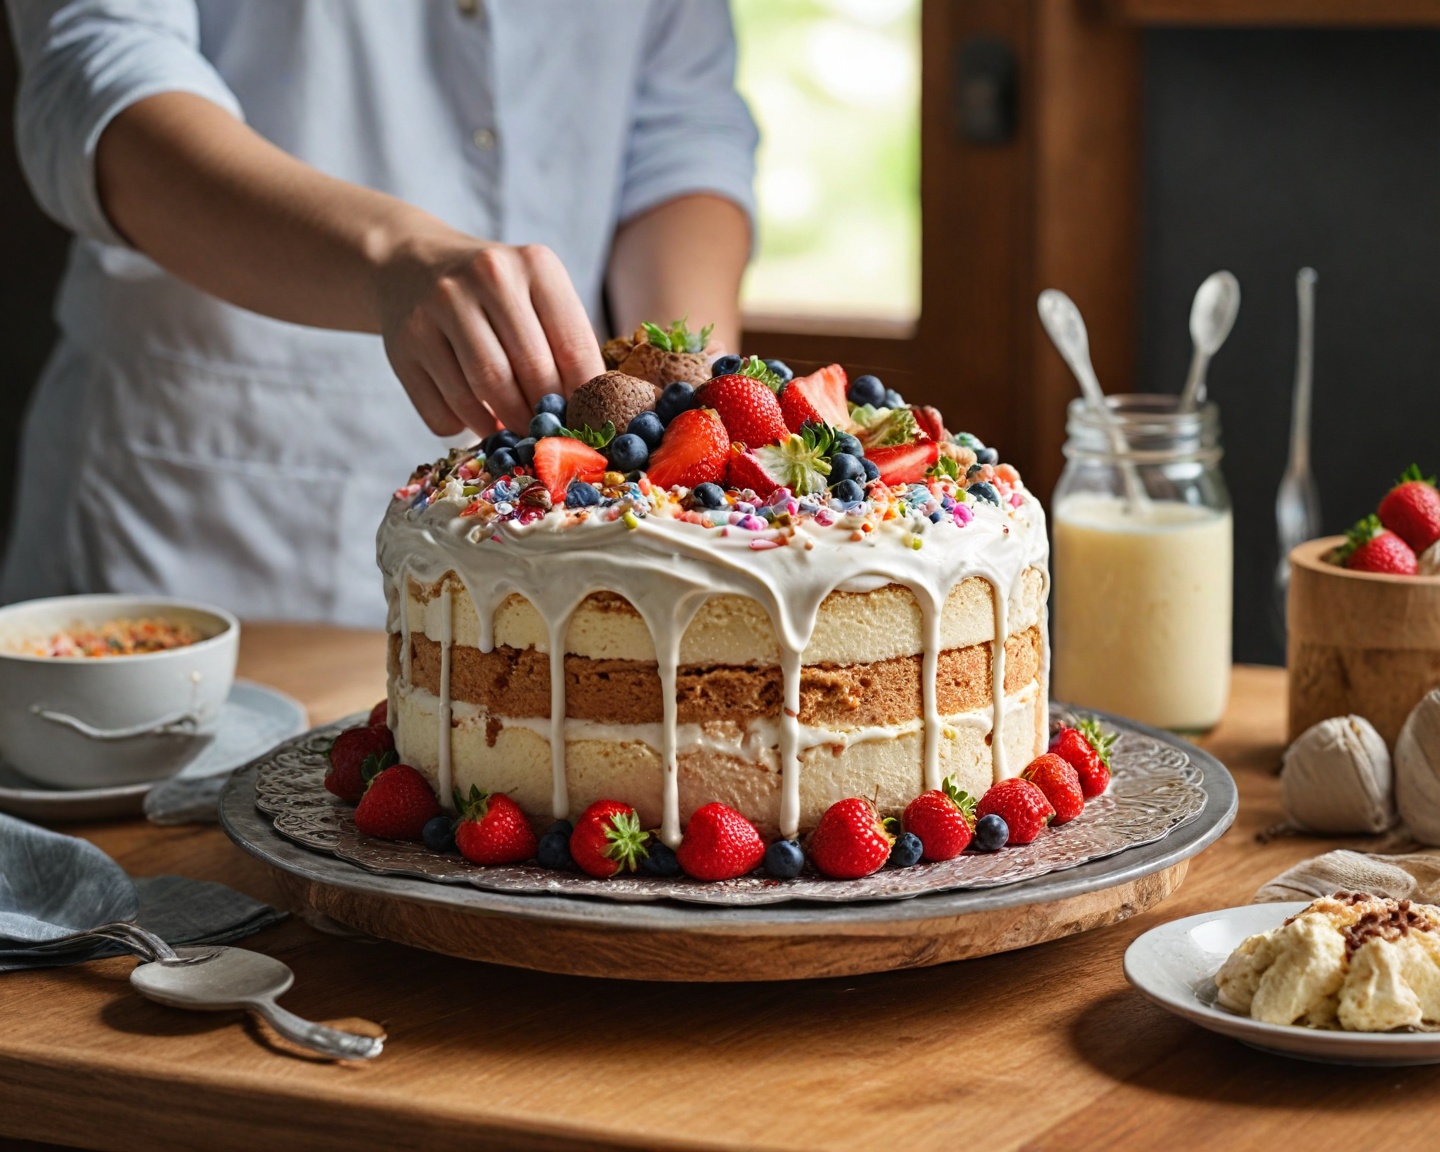
Decadent Toppings: After the last ice cream layer is set, top the cake with a thick layer of whipped cream. Sprinkle on your choice of toppings like sprinkles, shaved chocolate, or fresh berries to make your cake pop.
-
The Finishing Touch: Don’t forget about sauces. A drizzle of chocolate ganache or caramel over the top can create a visually stunning and delicious effect.
The Process of Molding and Setting the Ice Cream Cake
The molding and setting process may require some patience, but it’s crucial for achieving that perfect slice.
-
Proper Molding: Use a springform pan to layer your cake. This type of pan allows you to easily remove the cake once it’s frozen.
-
Layer and Freeze Strategically: Layer your base and ice cream in stages, freezing each layer for about 15-30 minutes to ensure it holds its shape. This process can take several hours, but the time investment leads to perfect layers.
-
Final Freeze: Once fully assembled, give the cake a final freeze for at least 4 hours, or overnight if possible, to ensure everything is set.
Decorating Ideas to Enhance Your Ice Cream Cake’s Appeal
A visually appealing ice cream cake sets the stage for an excited audience. Consider the following ideas to make your cake a centerpiece.
-
Color Coordination: Match the colors of your toppings with the flavor theme of the cake. For example, use red and pink for strawberry flavors.
-
Texturing: Use the back of a spoon or a spatula to make waves or other patterns in the whipped cream topping.
-
Simple Elegance: Sometimes minimalism is key—a few strategically placed fruits or a sprinkle of nuts can go a long way without overwhelming the senses.
How to Properly Serve Your Homemade Ice Cream Cake
Serving your ice cream cake correctly can mean the difference between a soggy mess and a perfect slice.
-
Allow Resting Time: Remove the cake from the freezer about 15 minutes before serving to let it soften slightly. This makes slicing easier and prevents cracking.
-
Slice with Precision: Use a sharp knife warmed under hot water and dried before slicing for smooth cuts.
-
Serve with Extras: Accompany your cake with fresh fruit, a drizzle of sauce, or a topping of whipped cream for an elevated dessert experience.
Storage Tips to Keep Your Ice Cream Cake Fresh
While your ice cream cake might not last long once it’s revealed, proper storage is crucial for preserving any leftovers.
-
Covering the Cake: To avoid freezer burn, cover leftover cake with plastic wrap or store it in an airtight container.
-
Storage Duration: While the best quality lasts for up to a week, the cake can technically be stored for longer. However, note that the texture might slightly change over time.
-
Quick Defrost Tips: If you freeze a whole cake or remaining slices, allow ample time for it to thaw slightly in the refrigerator before consuming again.
Conclusion: Enjoying and Sharing Your Homemade Creation
Crafting the ultimate homemade ice cream cake is a rewarding endeavor that ends in a delightful treat for everyone. From choosing exciting flavors to perfecting presentation, the process is as enjoyable as the result. This homemade touch adds a special charm that any store-bought cake simply cannot replicate.
Cheers to creativity and indulgence. These moments of bringing a dessert to life allow you to share joy with loved ones and create sweet memories. So wear your apron proudly, embrace your homemade adventure, and let every bite tell a story of flair and flavor.
Frequently Asked Questions
Can I use store-bought cake for the base?
Yes, you can use store-bought cake or even pre-packaged cake mix to simplify the process. Just ensure it’s fresh for the best taste.
How long can an ice cream cake stay out of the freezer?
An ice cream cake can stay out of the freezer for about 15 minutes before serving. This allows it to soften slightly, making it easier to slice and serve.
What if my ice cream is too hard to spread?
If the ice cream is too hard, let it sit at room temperature for a few minutes or microwave it in short increments until it’s soft enough to spread but not melted.
Is it possible to make a dairy-free ice cream cake?
Absolutely! You can use dairy-free ice cream and substitutes like almond or coconut milk-based whipped cream.
How do I prevent freezer burn on my ice cream cake?
Ensure your cake is well covered with plastic wrap and stored in an airtight container to prevent exposure to air that causes freezer burn.
Recap
Crafting an ice cream cake from scratch involves choosing your cake base, selecting complementary ice cream flavors, adding creative fillings and toppings, and serving it perfectly. With proper storage techniques, you can enjoy your handmade treat for days.
References
- “The Science of Ice Cream” by Chris Clarke
- “Sweet Cream and Sugar Cones: 90 Recipes for Making Your Own Ice Cream and Frozen Treats from Bi-Rite Creamery” by Kris Hoogerhyde, Anne Walker, & Dabney Gough
- “Perfectly Creamy and Dreamy Homemade Ice Cream: 100 Flavor Combinations, Plus Mix-Ins and More!” by Richard Helweg