
Introduction to Tarte Tatin and Its Origins
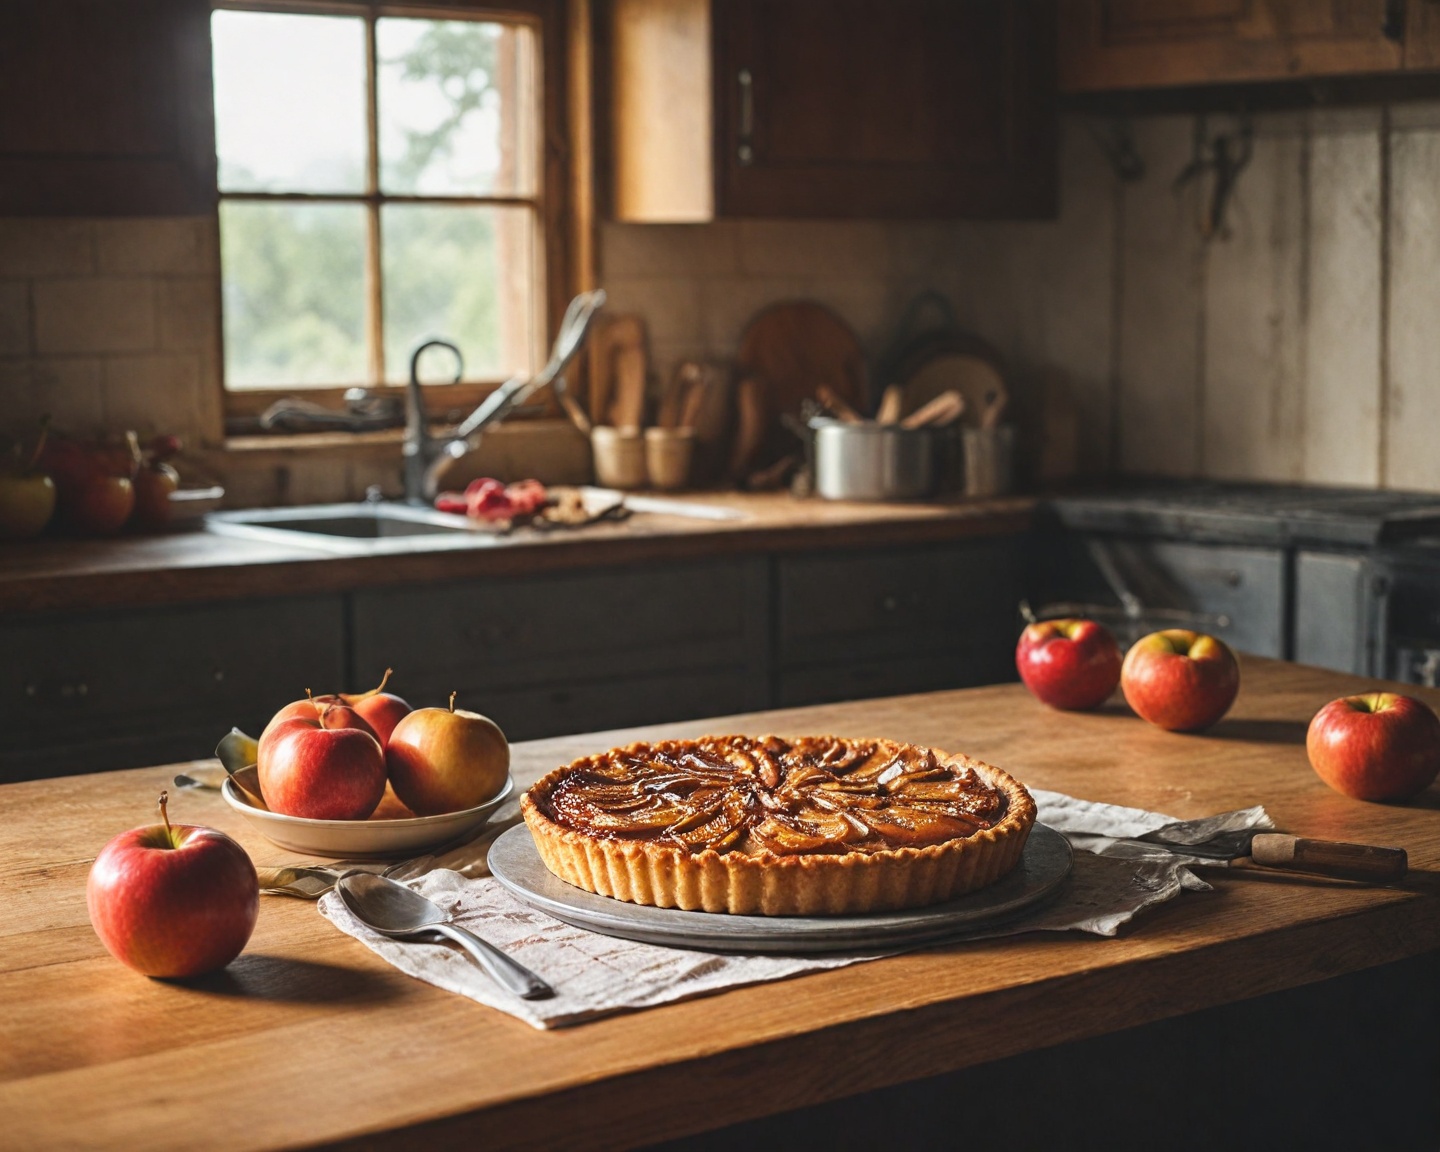
When it comes to French desserts, few recipes are as revered and beloved as the Tarte Tatin. This upside-down caramelized apple tart is a delightful combination of buttery pastry and luscious cooked apples, creating a dessert that’s both rustic and sophisticated. The Tarte Tatin boasts a rich history that adds to its charm and allure, making it a favorite for chefs and home bakers alike.
The Tarte Tatin is named after the Tatin sisters, Caroline and Stéphanie, who ran a hotel in Lamotte-Beuvron, France in the late 19th century. Legend has it that the dessert was created by accident when one of the sisters, in her haste, accidentally put the apples into the pan before the pastry. Instead of discarding the seemingly failed dessert, she decided to bake it anyway and served it upside down. The guests loved it, and thus, a culinary classic was born.
Today, the Tarte Tatin symbolizes an ingenious transformation of culinary mishap into a coveted dessert. Its simplicity is deceptive, though; achieving the perfect caramelization and maintaining the structure during the flip are elements that require a bit of finesse. This guide will walk you through the secrets of making this irresistible dessert, from choosing the right apples to serving it with elegance.
Essential Ingredients for Tarte Tatin
The magic of a Tarte Tatin lies in its simplicity, which calls for only a handful of essential ingredients. Yet, each ingredient plays a vital role in achieving the perfect balance of flavors and textures. Here’s what you’ll need:
- Apples: The star of the dish, apples should be firm enough to hold their shape during cooking yet soft enough to absorb the caramel.
- Pastry: A simple shortcrust or puff pastry forms the base, providing a buttery, flaky contrast to the sweet, tender apples.
- Butter and Sugar: Essential for caramelizing the apples, these ingredients create the rich, golden caramel that coats the fruit.
- Lemon Juice and Vanilla (optional): For those who like a hint of acidity or depth of flavor, lemon juice and vanilla extract can be added to the caramel.
It might seem like a short list, but the quality of these ingredients is crucial. Opt for unsalted butter to better control the saltiness, and use pure cane sugar for the deepest caramel flavor. These small decisions will make a big difference in the final result of your Tarte Tatin.
When measuring these ingredients, precision is important, especially for the caramel. It’s easy to go over or under, affecting both the texture and taste. You’ll need about half a cup of sugar and a quarter cup of butter to achieve the right caramelization. If you’re using puff pastry, it’s usually sold in pre-rolled sheets, which simplifies the process.
Choosing the Right Apples for the Recipe
Selecting the right apples is one of the most important aspects of making a successful Tarte Tatin. Not all apples are created equal when it comes to baking, as some varieties hold up better under heat than others. Let’s delve into what makes an apple ideal for this dish.
Characteristics of the Ideal Apple
- Firmness: Look for apples that can hold their shape when cooked. You want slices that remain distinct and do not collapse into mush, which means firm apples are your best bet.
- Flavor: Tarte Tatin benefits from apples with a delicate balance of tartness and sweetness. Tart apples can alleviate the caramel’s sweetness, providing contrast.
- Moisture Content: Apples that are too juicy will make the tart soggy. Choose apples with a lower moisture content to avoid this pitfall.
Recommended Apple Varieties
Here’s a helpful table listing some recommended apple varieties for Tarte Tatin:
| Apple Variety | Firmness Level | Flavor Profile | Ideal Cooking Time |
|---|---|---|---|
| Granny Smith | High | Tart | Moderate |
| Honeycrisp | High | Sweet-tart | Short |
| Braeburn | Medium | Sweet-spicy | Moderate |
| Golden Delicious | Medium | Sweet | Long |
Tips for Buying Apples
- Season: Apples in season usually offer better flavor and texture.
- Freshness: Choose apples that are free of blemishes and firm to the touch.
- Size: Medium-sized apples often work best, ensuring uniformity for even cooking.
Step-by-Step Guide to Caramelizing the Apples
The heart of a Tarte Tatin is its golden caramel. Proper caramelization of the apples is what transforms this simple dessert into an exquisite delight. Let’s walk through the steps to master this crucial stage.
Step 1: Prepare Your Pan
- Choose the Right Pan: Use a heavy skillet or an ovenproof frying pan. A 9-inch cast iron pan is ideal due to its even heat distribution.
- Butter the Pan: Generously coat the bottom and sides of the pan with butter to prevent sticking and enhance flavor.
Step 2: Make the Caramel
- Heat the Sugar and Butter: Add the sugar to the pan and gently heat it on medium. Stir occasionally until it melts and takes on a rich amber color.
- Add the Butter: Once the sugar has reached a caramel color, add butter and stir until fully incorporated. For an extra flavor boost, add a teaspoon of vanilla extract.
- Optional Lemon Juice: A few drops of lemon juice can be added to brighten the flavors.
Step 3: Cook the Apples
- Core and Slice the Apples: Peel, core, and cut the apples into quarters. Arrange them tightly in the pan, rounded side down.
- Simmer the Apples: Allow the apples to cook in the caramel for about 10-15 minutes over low heat. They should soften slightly but remain firm.
- Reduce Moisture: Carefully spoon the caramel over the tops of the apples as they cook, encouraging even absorption and creating a glossy finish.
Preparing the Pastry Dough from Scratch
For those who take pride in creating their pastries from scratch, making your dough can offer a deeply satisfying experience. Follow these simple steps to craft the perfect pastry to complement your caramelized apples.
Gathering Ingredients
To prepare the pastry, you need:
- 1 1/4 cups all-purpose flour
- 1/4 cup powdered sugar
- 1/2 cup cold unsalted butter (cut into cubes)
- 1 egg yolk
- 2 tablespoons ice water
Step-by-Step Pastry Preparation
- Mix the Dry Ingredients: In a bowl, combine the flour and powdered sugar.
- Incorporate the Butter: Add the butter cubes, using a pastry cutter or your hands, until the mixture resembles coarse crumbs.
- Add Egg Yolk: Stir in the egg yolk, followed by enough ice water to make the dough just come together.
- Form and Chill: Bring the mixture into a ball, wrap in plastic, and refrigerate for at least 30 minutes before rolling.
Tips for Perfect Pastry
- Cold Ingredients: Ensure butter and water are very cold. This prevents the pastry from becoming greasy and helps maintain its flaky texture.
- Resting Time: Chilling the dough is crucial for gluten relaxation, resulting in tender pastry.
- Rolling Technique: Roll the dough on a lightly floured surface to prevent sticking and tearing.
Assembling the Tarte Tatin for Baking
Once your caramelized apples and pastry are ready, it’s time to put together your tarte tatin. This part can be both exciting and nerve-wracking, as it’s crucial to assemble everything correctly before baking.
Step 1: Preheat the Oven
Preheat your oven to 375°F (190°C). A consistent oven temperature ensures even cooking, so it’s best to let the oven heat up for a good 10-15 minutes before baking.
Step 2: Roll Out the Pastry
- Prepare the Pastry Disc: Roll out your chilled dough to around a 10-inch diameter, keeping it about a quarter of an inch thick. This ensures it covers the pan with some overhang.
- Trim and Vent: Trim the edges if necessary, and use a fork to prick the pastry lightly. This step allows steam to escape, preventing sogginess.
Step 3: Cover the Apples
- Drape the Pastry Over Apples: Carefully lift the pastry and lay it over the caramelized apples, tucking the edges down into the sides of the pan.
- Press Down Gently: Ensure the pastry is in contact with the apples; this aids in even baking and absorption of flavor.
Baking Time and Temperature Tips
Proper baking time and temperature are critical in achieving the perfect tarte tatin. Follow these guidelines to get that beautiful golden-brown crust and perfectly cooked apples.
Baking Time
Bake the tarte tatin for 30 to 40 minutes. You want the pastry to reach a deep golden brown color, indicating that it has cooked through and absorbed some of the caramel.
Checkpoints During Baking
- Watch the Crust: After the 20-minute mark, keep an eye on the pastry to prevent burning. Every oven has its own quirks.
- Bubble Check: When the caramel starts bubbling up the sides and through the pastry vents, it’s a good sign that they are interacting well.
Adjusting Temperature
If the tart seems to be browning too quickly, you can cover it loosely with aluminum foil or reduce the oven temperature slightly.
How to Successfully Flip a Tarte Tatin
Once baked, the true moment of truth comes: flipping the tarte tatin. It sounds daunting but with a little confidence and the right technique, you can achieve a beautiful presentation every time.
Step-by-step Flipping Guide
- Let it Rest: Allow the tart to cool for 5-10 minutes. This helps the caramel settle, making the flip less prone to spills.
- Choose Your Plate: Pick a plate that is larger than the pan and has slightly raised sides to catch any caramel that might escape.
- The Flip: Place the plate over the pan, hold firmly with oven mitts, and in one swift motion, flip it over.
Tips for a Successful Flip
- Confidence is Key: Hesitation can lead to accidents. A swift, decisive flip works best.
- Secure Grip: Use dish towels or mitts to maintain a firm grip and protect against heat.
What to Do If Something Goes Wrong
If any apples remain in the pan, simply rearrange them on the tart with a fork. A little imperfection adds to the rustic charm!
Serving Suggestions and Presentation Ideas
Serving tarte tatin is an opportunity to wow your guests with presentation flair. Consider these suggestions to elevate your dessert from delightful to dazzling.
Classic Serving Suggestions
- Warm with Ice Cream: Serve warm slices with a scoop of vanilla ice cream or a dollop of crème fraîche to cut the sweetness.
- Sprinkle with Cinnamon: A light sprinkle of cinnamon can enhance the aroma and add a touch of spice.
Creative Plating Techniques
- Artful Arrangements: Fan slices of the tart on a plate, alternating with fresh apple slices or decorative caramel drizzles.
- Garnish Wisely: Use mint leaves or edible flowers to introduce color contrast and a visual appeal.
Beverage Pairings
- White Wine: A glass of chilled Sauternes or Riesling complements the tart beautifully.
- Coffee or Tea: Bold coffee or a spiced tea pairs well and rounds off the meal.
Common Mistakes to Avoid When Making Tarte Tatin
As simple as tarte tatin may seem, there are common pitfalls that can trip up even experienced bakers. Being aware of these mistakes can help you perfect your dessert.
Mistake 1: Using the Wrong Apples
Choosing apples that are too soft or too moist can lead to a mushy tart. Stick to firm varieties like Granny Smith for the best results.
Mistake 2: Overcooking the Caramel
Caramel can go from perfect to burnt in seconds. Maintain close attention during caramelization, turning down the heat if needed to maintain control.
Mistake 3: Struggling with the Flip
Fear of the flip can cause delays, leading the caramel to stick. It’s vital to act with confidence and ensure your equipment and methods are prepared well in advance.
Other Common Missteps:
- Not cooling the tart before flipping can lead to a less defined structure.
- Using too little butter or sugar in the caramel can result in a dry tart.
- Failing to properly preheat the oven contributes to uneven cooking.
Frequently Asked Questions
What type of pan is best for making tarte tatin?
A cast iron skillet is ideal because its even heat distribution helps achieve a consistent caramel and thorough cooking of the apples. An ovenproof frying pan also works if a cast iron skillet is unavailable.
Can I use store-bought puff pastry for tarte tatin?
Yes, store-bought puff pastry is a convenient option and works well for tarte tatin. Be sure to allow it to come to room temperature so it’s easy to roll out and fit over your apples.
How can I prevent my tart from sticking to the pan?
Generously buttering the pan and letting the caramel cool slightly before placing the pastry can reduce sticking. Ensuring good contact between the pastry and apples also aids in a successful flip.
What’s the best way to store leftover tarte tatin?
Store leftover tarte tatin in the refrigerator, covered with plastic wrap or in an airtight container. It should be consumed within two to three days for the best taste and texture.
Can I make tarte tatin in advance?
Yes, tarte tatin can be made a day in advance and kept covered at room temperature. Warm it slightly before serving for the best results.
Are there other fruits that can be used besides apples?
Absolutely, pears or stone fruits like peaches and plums can also be used to make variations of tarte tatin. Ensure the fruit is firm and adjust the caramel since different fruits have varying moisture contents.
How do I fix a runny caramel?
If your caramel is too runny after baking, return the pan to the stovetop on low heat, allowing excess moisture to evaporate. Watch carefully to prevent burning, and add a pinch more sugar if necessary to thicken.
Recap
In crafting the perfect tarte tatin, the key elements include selecting the right apples, creating a flawless caramel, and performing a successful flip. By mastering these steps and remaining cautious of common pitfalls, anyone can recreate this French dessert classic. Whether you choose to serve it alone, with ice cream, or a glass of wine, the tarte tatin’s rich history and warm flavors will undoubtedly make it a recurring favorite in your culinary repertoire.
References
- “The Ultimate Tarte Tatin Guide,” Epicurious, www.epicurious.com
- “The History Behind the Tarte Tatin,” French Cooking, www.frenchcooking.com
- “Perfecting Tarte Tatin,” Home Baking Blog, www.homebakingblog.com